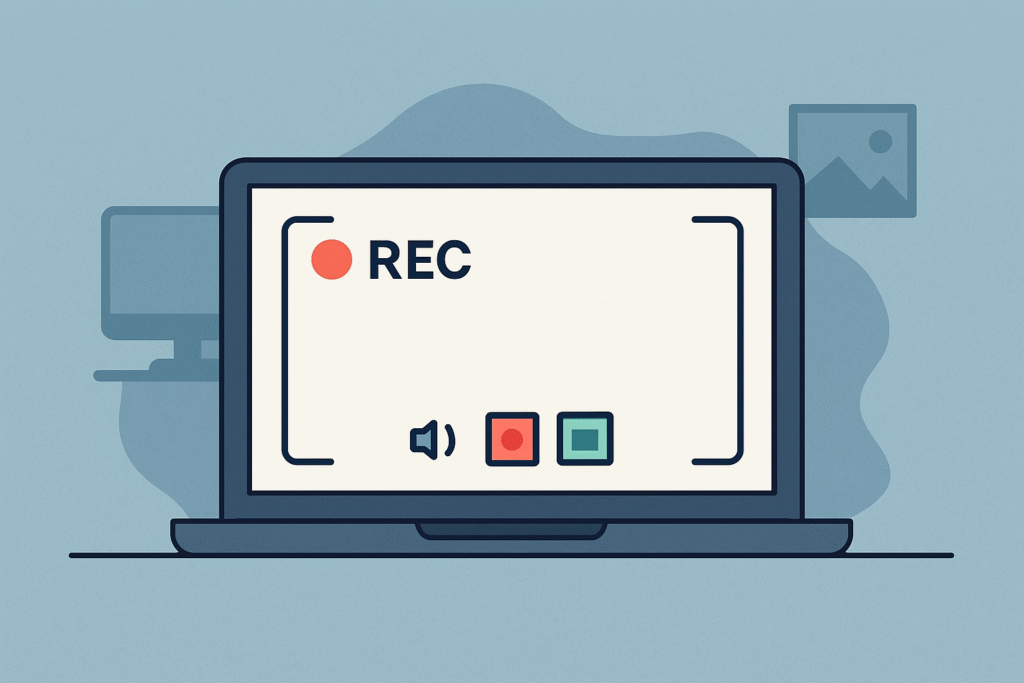
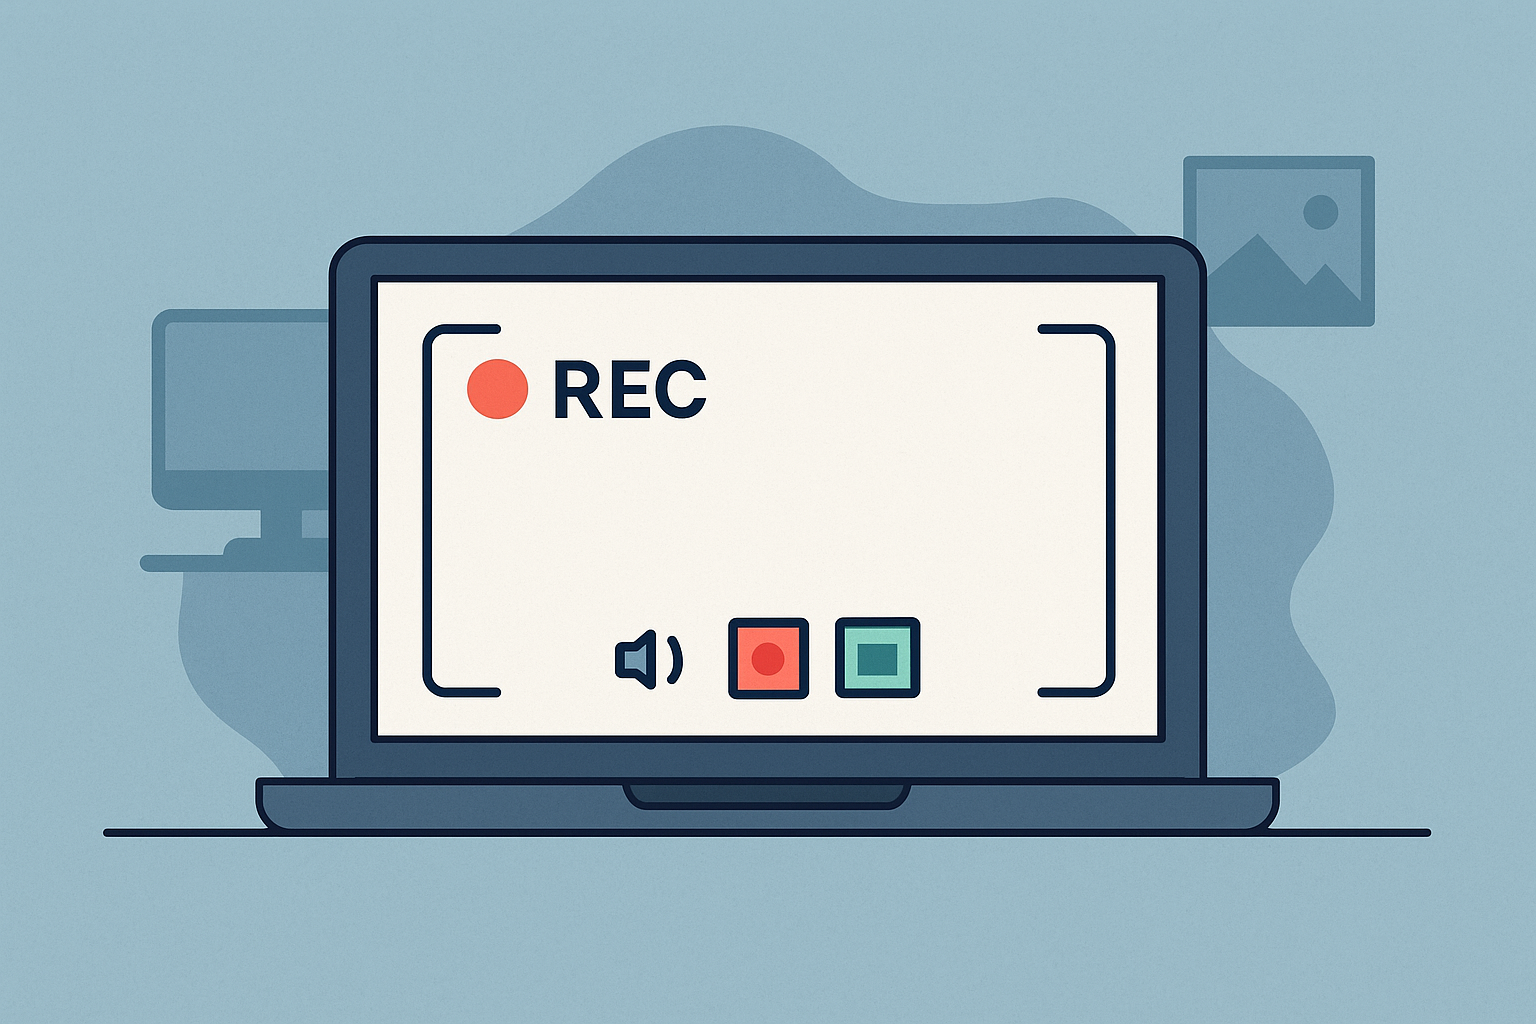
Screen recording has become a crucial skill for students, professionals, gamers, and content creators alike. Whether you’re preparing a tutorial, capturing a presentation, troubleshooting a software issue, or saving a video call, screen recording is a quick and effective solution.
But what if you need to record your screen and don’t want to install any software? Good news: you can! Many operating systems and web tools already include built-in features or browser-based platforms that let you record your screen effortlessly and securely—no downloads required.
In this guide, we’ll explore how to record your computer screen without installing anything, using free tools and native features available on Windows, macOS, and web browsers.
Why Avoid Installing Software?
While third-party screen recorders offer great features, some users prefer not to install extra programs due to:
- Limited storage space
- Corporate or school restrictions
- Concerns about security or malware
- The need for a quick one-time recording
Let’s dive into the best no-installation options available.
1. Use Windows 10/11 Built-in Xbox Game Bar
Windows 10 and Windows 11 come with a pre-installed tool called Xbox Game Bar, designed primarily for gamers but excellent for screen recording in general.
How to Use It:
- Press
Windows + Gto open Xbox Game Bar. - Click the “Capture” widget (or enable it via the widgets menu).
- Press the record button or use the shortcut
Windows + Alt + R. - To stop recording, use the same shortcut or press the stop button on the floating toolbar.
Features:
- Records screen and audio
- No installation required
- Saves files automatically in MP4 format
- Ideal for tutorials and software demos
Limitations:
- Cannot record File Explorer or desktop (only apps and games)
- Basic editing options
2. Use macOS QuickTime Player
If you’re a Mac user, you already have a powerful screen recording tool built into your system: QuickTime Player.
How to Use It:
- Open QuickTime Player.
- Go to the menu bar and select File > New Screen Recording.
- Click the red record button and choose whether to record the entire screen or a portion.
- Click “Stop” in the menu bar to finish recording.
Features:
- High-quality screen recording
- No downloads necessary
- Supports internal and external audio
- Lightweight and easy to use
Limitations:
- Limited export formats
- No advanced editing tools
3. Record Screen Using Google Chrome Extensions (No Installation to Your System)
If you use Google Chrome, several extensions allow screen recording directly from your browser, without downloading software to your computer.
Recommended Tools:
- Loom (Free plan)
- Screencastify (Free for basic use)
- Nimbus Capture
How to Use:
- Visit the Chrome Web Store.
- Search and add the extension of your choice.
- Launch the extension and choose your recording options (tab, desktop, webcam, microphone).
- Record and save or share instantly.
Features:
- Works within browser
- Saves to cloud or downloads locally
- Great for teachers, students, and remote teams
Limitations:
- Browser-dependent
- Free plans may limit recording duration
4. Use Online Screen Recorders (No Extension Needed)
Several websites offer free screen recording directly from your browser, without extensions or apps.
Popular Online Tools:
- ScreenApp.io
- ScreenRec.com
- Apowersoft Free Online Screen Recorder
- FlexClip
- RecordCast
How to Use:
- Visit the recording site.
- Allow permissions to capture your screen.
- Choose what to record: entire screen, app window, or browser tab.
- Start and stop recording with on-screen controls.
- Download or share your recording.
Features:
- Zero installation
- Cross-platform (Windows, Mac, Linux)
- Supports webcam and microphone
Limitations:
- Internet connection required
- Some tools require account sign-up
- Privacy concerns—avoid sharing sensitive content
5. Record Using PowerPoint (Yes, Really!)
If you have Microsoft PowerPoint, you can use it to record your screen—even without installing external tools.
How to Use:
- Open PowerPoint and go to the Insert tab.
- Click Screen Recording.
- Select the area of your screen and click Record.
- Stop the recording and insert it into your presentation.
- Right-click the video and choose “Save Media as” to export it.
Features:
- Familiar interface for Office users
- Saves video as MP4
- Works well for instructional videos
Limitations:
- Only available in Office 2016 or later
- Cannot record multiple windows
6. Use Built-in Web Meeting Tools (Zoom, Google Meet)
If you’re already using a tool like Zoom or Google Meet, you can record the screen as part of your meeting—no extra software required.
Zoom:
- Hosts can record the session even when alone.
- Go to “Record” on the toolbar and save locally or to the cloud.
Google Meet:
- Available for Google Workspace users.
- Click “Activities > Recording” to start.
These methods are useful if you’re presenting something live but also want to capture it for future use.
7. Linux Users: Use GNOME Screenshot or Built-In Recorders
If you’re on Ubuntu or other Linux distros, GNOME includes built-in screen recording:
Shortcut:
- Press
Ctrl + Alt + Shift + Rto begin recording. - Press again to stop.
- File is saved in the Videos folder.
For more control, browser-based or terminal tools like OBS Studio (if allowed) or Kazam can be used when local installation is possible.
Bonus Tips for Screen Recording
Adjust Resolution and Frame Rate
- Use 1080p and 30fps for clear tutorials.
- Lower resolutions can save storage and bandwidth.
Clean Your Desktop
- Close irrelevant tabs or apps.
- Use “Do Not Disturb” to block notifications.
Test Audio First
- Always check if your microphone is working properly.
- Use headphones to prevent echo.
Edit with Online Editors
After recording, use tools like Clipchamp, Kapwing, or Canva Video Editor for trimming and basic editing—no installations required.
Conclusion: Record Smart, No Installs Needed
Recording your computer screen doesn’t have to be complicated. With built-in tools on Windows and macOS, browser-based extensions, and free online services, anyone can record their screen quickly, efficiently, and securely—without downloading a single program.
Whether you’re creating educational content, demonstrating software, or capturing important meetings, you now have all the tools to do it smoothly.
